How to Wire Fire Alarm System
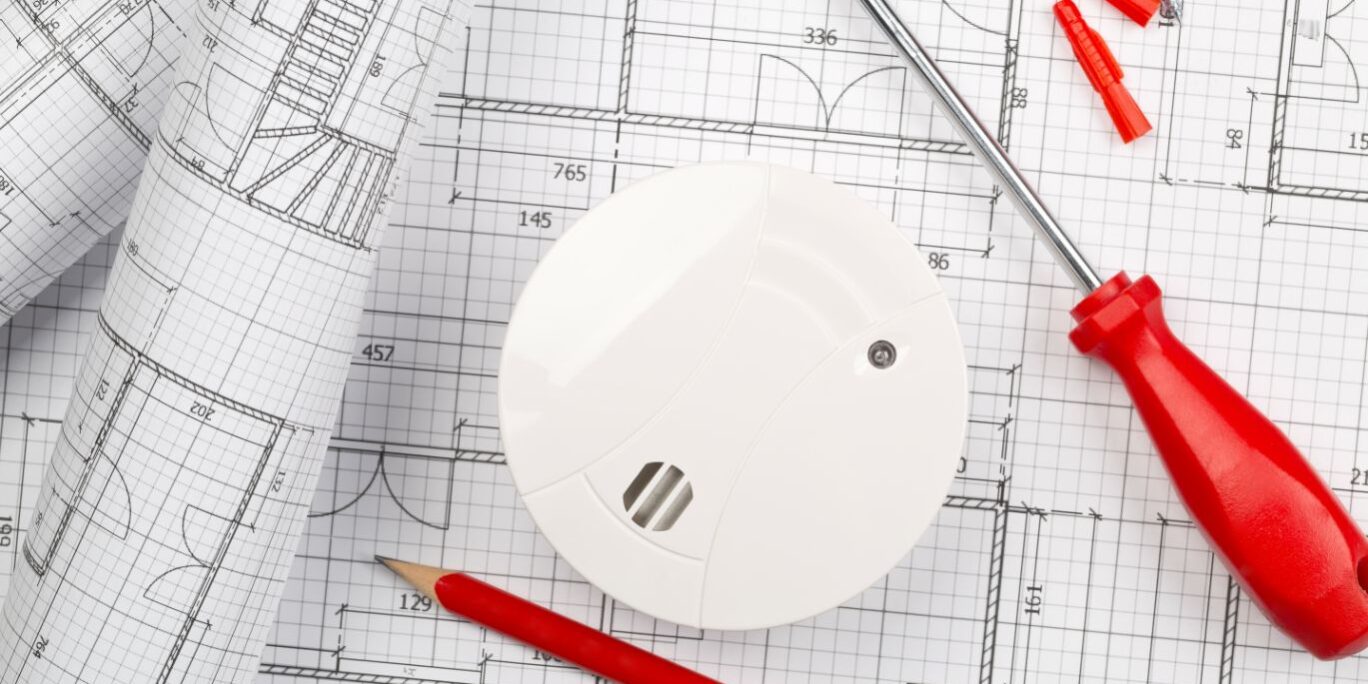
Only when they receive a consistent electrical charge—which can be given in one of two ways—do smoke detectors function correctly. The two types of smoke detectors are battery-only smoke detectors that run only on changeable batteries and hardwired smoke detectors that run on regular home circuits with inbuilt backup batteries.
What Is a Hardwired Smoke Detector?
Any electrical fixture or appliance with a circuit cable running directly into an electrical connection box on the item instead of using a cord plugging into an outlet is called “hardwired.” Hardwired smoke detectors are placed in the same sections of the house as battery-operated smoke detectors and resemble them from the outside. Hardwired smoke detectors are different because they have an electrical line behind a wall or ceiling and into the rear of the sensor. The smoke detector always has electricity thanks to the electrical wire, barring power outages. In a power outage, an onboard battery is kept powered by the smoke detector.
It Is Best to Let a Professional Wire Your Fire Alarm System
Before installing a hardwired smoke detector, you should be well-versed in house electrical work and comprehend electrical circuits. If you lack the necessary knowledge and experience, leaving this project to a licensed electrician is better. The professionals at One AZ Alarm have the best equipment and skills to wire any fire security system.
Installing a new circuit specifically for hardwired smoke detectors is acceptable, even if the electrical code does not mandate that they link to one. Hardwired smoke detectors are often installed by splicing into a circuit for general illumination or an outlet circuit. They can be powered by a 15-amp circuit (wired with a 14-gauge wire) or a 20-amp circuit (connected with a 12-gauge cable).
For a qualified electrician, wiring the smoke detectors is relatively simple. Old-work electrical boxes are first installed at the proper locations where the smoke detectors will be fitted. The first smoke detector is connected to the power supply using a 2-wire connection. A wall switch or outlet, circuit breaker panel, or light fixture with pass-through cables can all serve as power sources. The smoke detectors are then connected one after the other using 3-wire wires. Once the different wire connections have been completed, the gadgets are mounted.
When working with electrical circuits, you should take all standard safety measures. Turn the power off before connecting feed wires, and check the voltage.
Step 1: Turn Off the Power
The electrician will identify the existing circuit that the smoke detectors will plug into and switch off the power supply. Security first!
Step 2: Cut the Holes
The electrician will find the ceiling joist or wall stud and install the smoke detector using a stud finder. The hole is accurately made between the wall studs using the electrical box as a template to trace around. The box’s outline is guaranteed to be level by using a group.
The electrician will cut around the template shape after drilling a pilot hole in the center of the electrical box outline. Ideally, the electrical box would fit snugly but not too tightly. Your electrician will repeat this step for each smoke detector if there are many detectors to wire.
Step 3: Run the Wire
The electrician will run the wire (with the ground) from the power supply to the smoke detector’s placement. An existing wall socket, switch, or circuit breaker panel are all examples of potential power sources. A significant quantity of extra cable will stick through the drywall opening. This eventually simplifies installation, and when installing a hardwired smoke detector, your electrician will cut the line to the correct length.
If several smoke detectors are installed, your electrician will run a 3-wire cable (with the ground) from the first smoke detector to each additional smoke detector. The other wire enables the smoke detectors to communicate with one another so they can all sound an alarm if one detects smoke.
Step 4: Fasten the Wires to the Electrical Boxes
Approximately 8 inches of wire will protrude from the hole at each box placement. The electrician will then use a cable stripper to remove the insulating wrap from the wire. The wires will then be run and secured to the electrical boxes.
Step 5: Secure the Electrical Boxes
Once the cables have been attached to each box, it’s time to fasten the electrical box in the drywall opening.
The electrician must connect the circuit wires through the mounting plate of each smoke detector. He can then position the screw holes on the mounting plate with those in the electrical box. The electrician will fasten the smoke detector using the screws that came with it.
Step 6: Wire the Smoke Detector
The smoke detector’s two components are the alarm and the harness. Your electrician will connect the nearest electrical box’s black, white, and red wires to the wiring harness.
Step 7: Put It All Together
Your electrician will screw the mounting plate to the electrical box once the smoke detectors have been connected. The wire harness is then fastened to the smoke alarm’s rear. The device is ready to use with a fast twist when the notches on the notice’s back match those on the base.
Step 8: Connect to the Circuit
The electrician will connect the smoke detector cable to the circuit and pigtail the wires into the course. Once the lines are connected, it is time to turn on the circuit again and set up your new hardwired smoke alarms.


